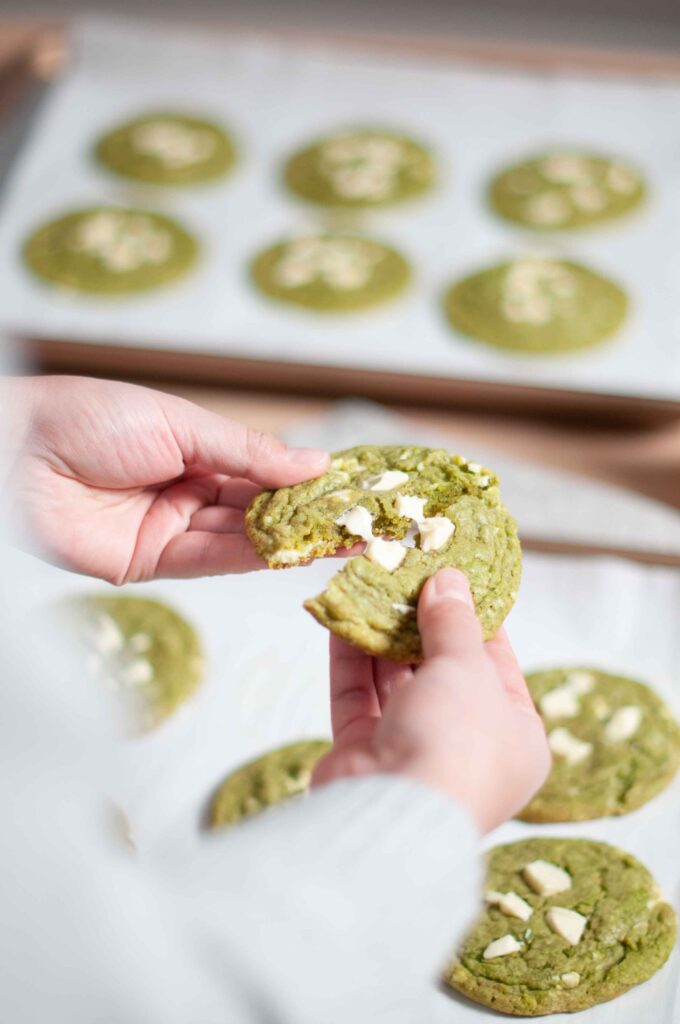
Matcha Cookies
抹茶クッキー
Discover the unique blend of rich, nutty browned butter and vibrant, earthy matcha in these craggy cookies recipe.
matcha cookies
In Japan, matcha has long been used to flavor wagashi (traditional Japanese sweets) such as mochi, manju, and yokan. These sweets were often enjoyed alongside matcha tea served during ceremonial tea tastings. The idea of incorporating matcha into Western-style desserts emerged in the late 20th century as Japan embraced more Western baking techniques and ingredients, leading to the creation of matcha-infused treats like cakes, cookies, and ice cream.
what type of matcha should I use?
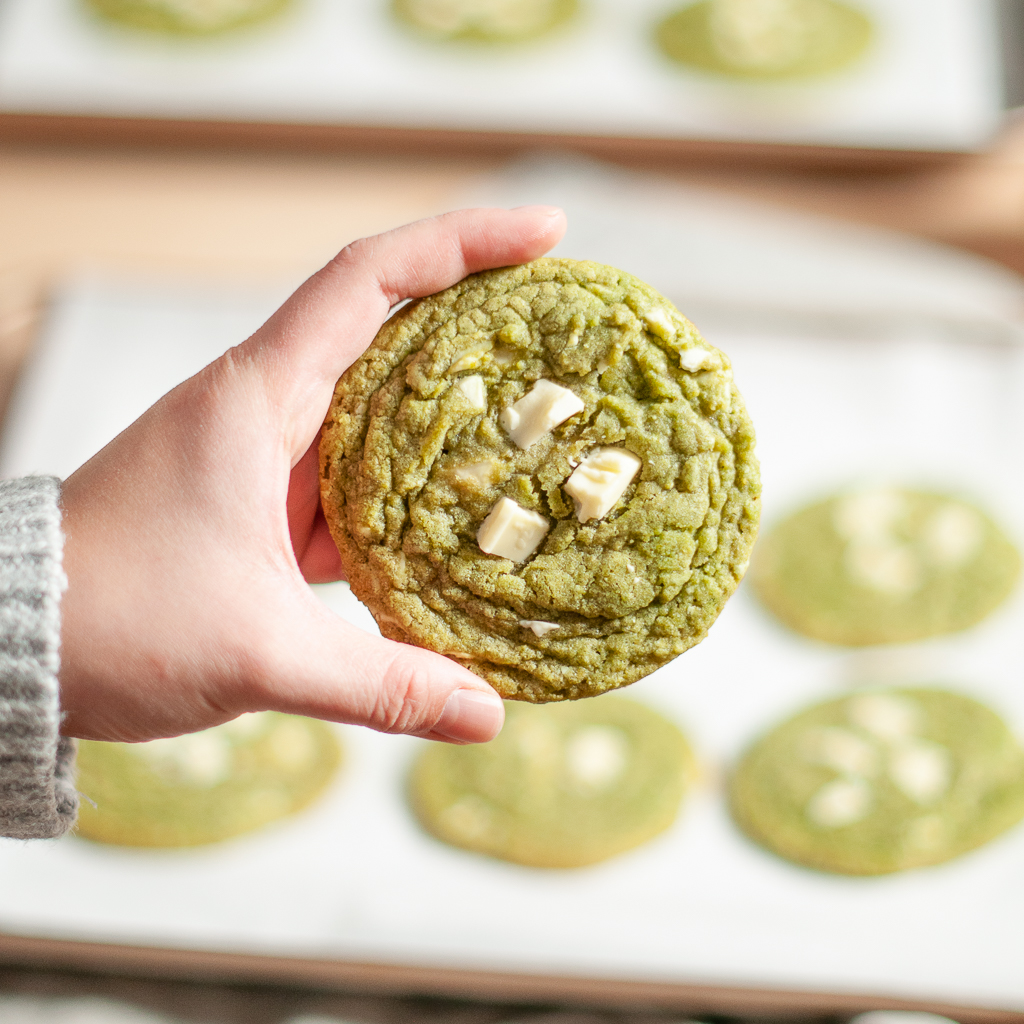
For this recipe, I’m not using my highest-quality matcha, but still a good culinary-grade one. It’s important to note that not all culinary-grade matcha is of the same quality – there’s a wide range within this category. Lower quality culinary-grade matcha can lead to a bitter taste and a dull, brownish-green color in the cookies, which isn’t very appealing. However, a good quality culinary-grade matcha will offer a more vibrant green color and a smoother, less bitter flavor. Here are some culinary-grade matcha that I recommend:
using white chocolate
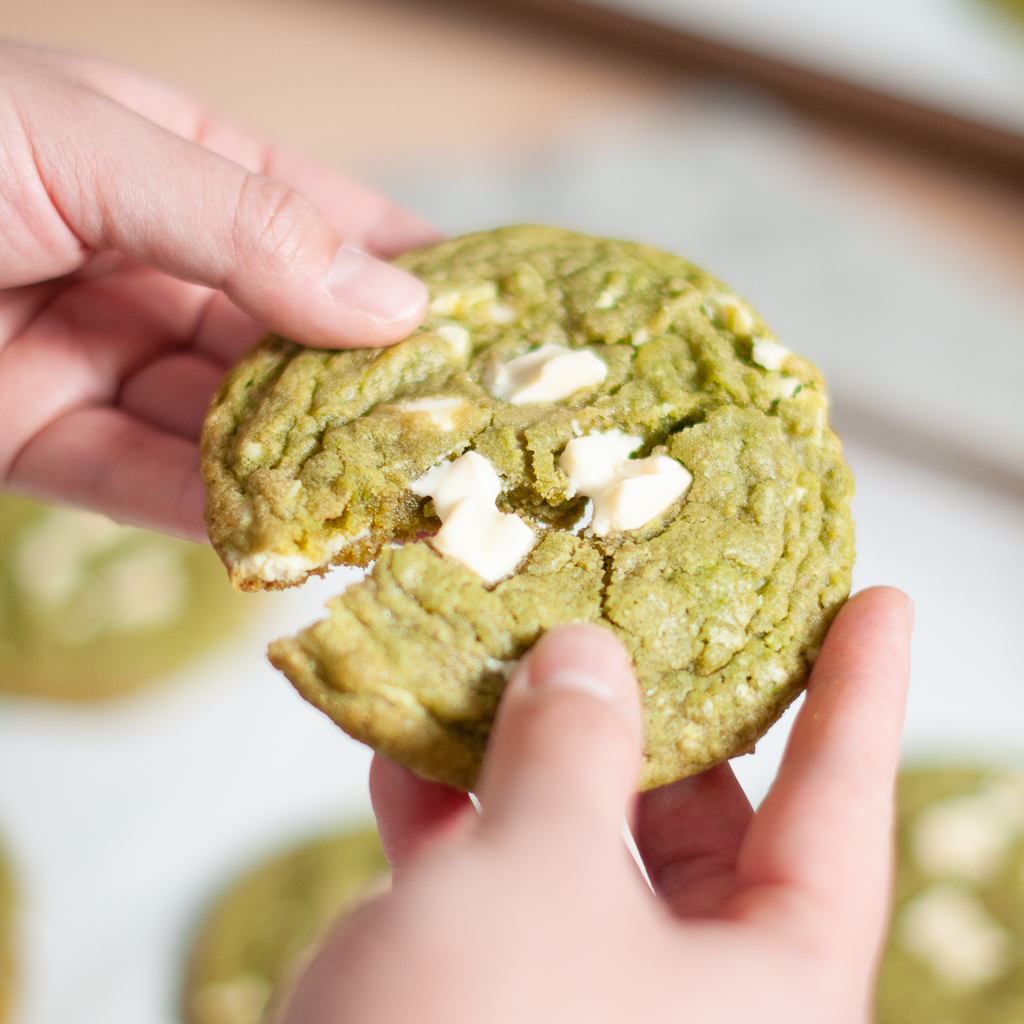
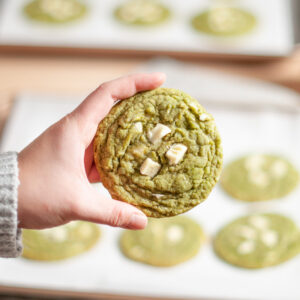
White chocolate is sweeter, making it a great match for the earthy, slightly bitter flavor of matcha. That said, milk chocolate, semi-sweet chocolate, and dark chocolate also pair well. For a meltier texture, I suggest using chocolate bars or tablets chopped into small pieces instead of chocolate chips. Chocolate chips are often coated with stabilizers like lecithin or vegetable oils to help them retain their shape during baking. While this makes them ideal for holding form in cookies, it also means they’re less likely to melt into soft, gooey pockets of chocolate.
When buying white chocolate, check that cocoa butter is listed as the first ingredient to ensure you’re getting good-quality chocolate. I personally like the chocolate from Baker’s or Ghirardelli from Lindt for baking.
chilling the dough
using an ice cream scoop
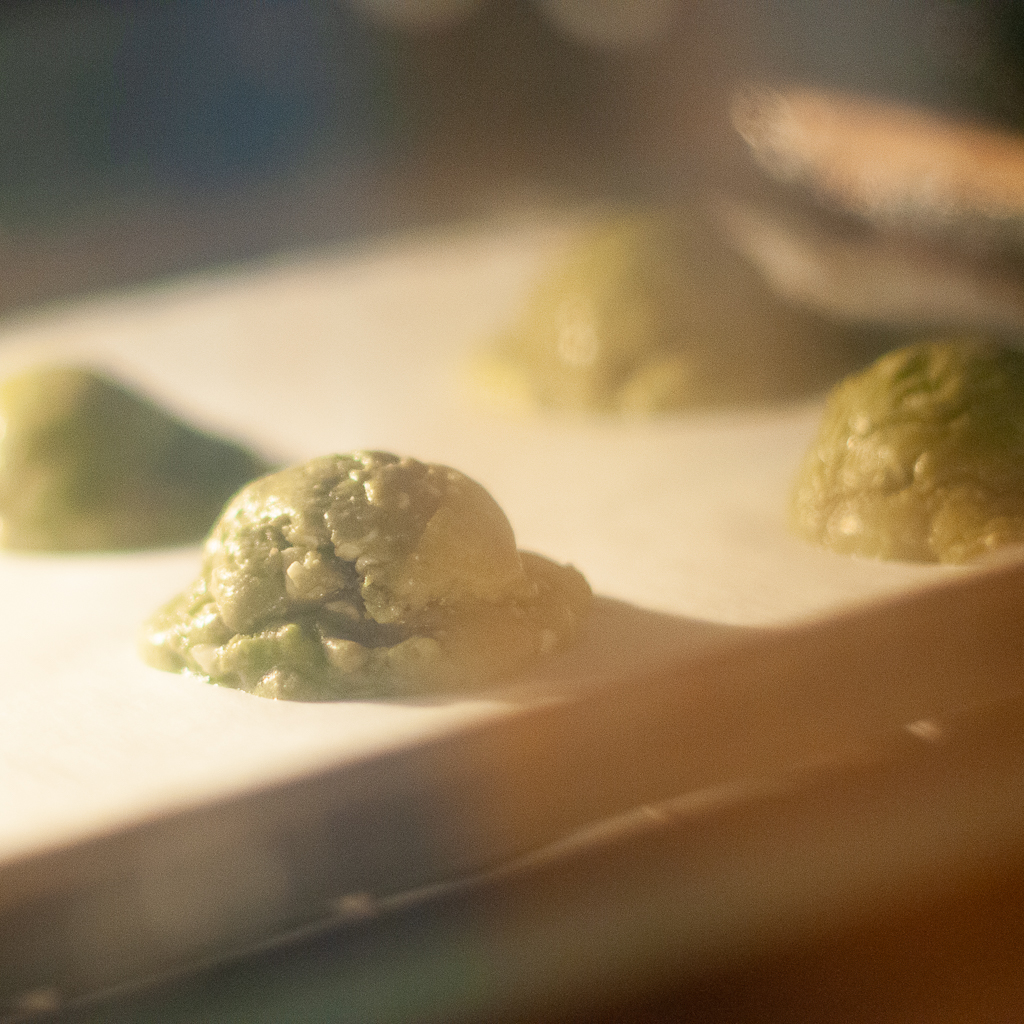
An ice cream scoop has been a game-changer for me in terms of consistent cookie size. I used to form dough balls by hand, but this often resulted in uneven sizes that affected both the cookie’s appearance and how evenly they baked. Now, I use a simple 2-tablespoon ice cream scoop with a trigger, and it ensures that every cookie is uniform, baking evenly for a consistent result.
baking on the middle rack
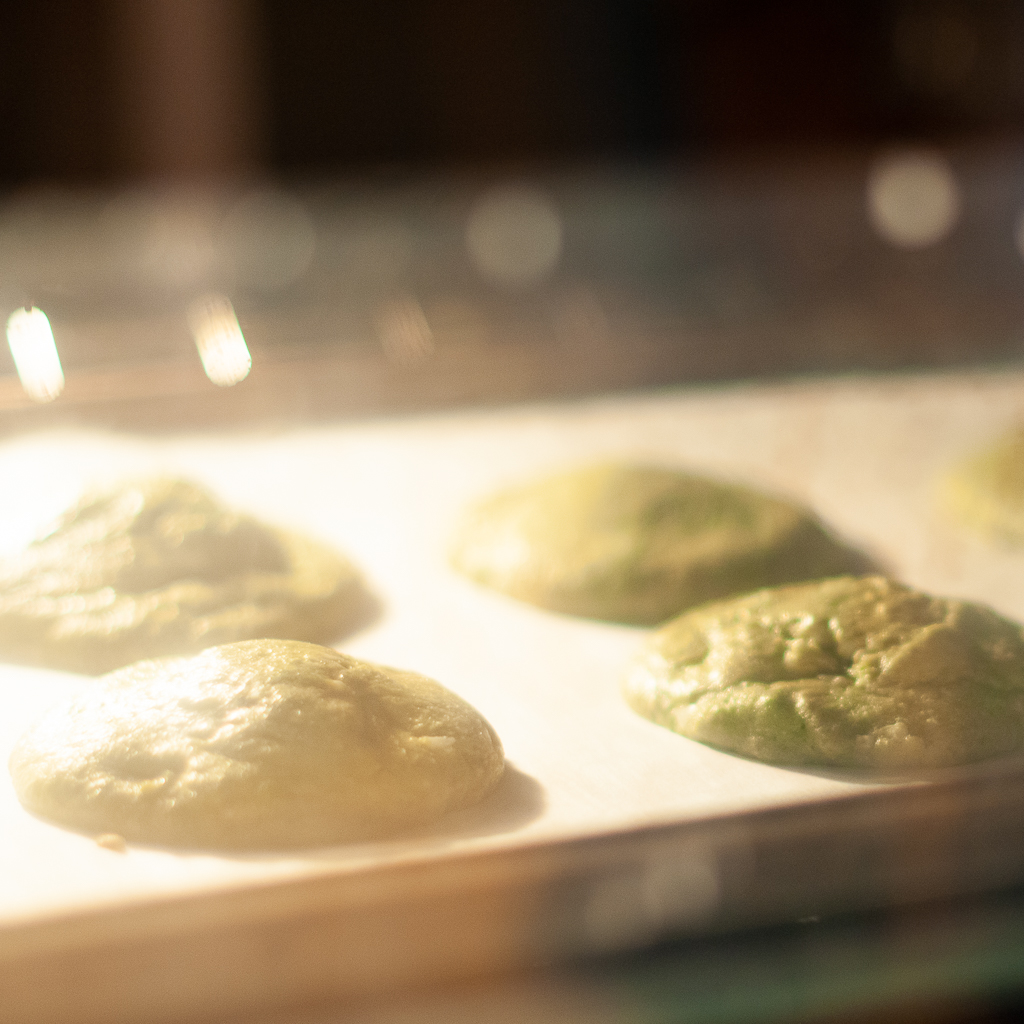
For the best results, I suggest baking these cookies on the middle rack of your oven. I once baked them on the top rack, and the cookies ended up too dry on the tops, while the bottoms were underdone. The middle rack ensures an even distribution of heat, giving you a soft, chewy texture with perfectly browned edges.
the science behind craggy cookies
Matcha Cookies
Equipment
- 1 electric hand mixer
- 1 ice cream scoop
- 1 tray for the oven
- parchment paper
Ingredients
Wet ingredients
- 230 grams unsalted butter
- 150 grams white granulated sugar
- 75 grams brown sugar
- 2 large eggs
- 2 tsps vanilla extract
Dry ingredients
- 300 grams all-purpose flour
- 1 tsp baking powder
- 1 tsp baking soda
- 2 tbsps matcha powder (culinary grade)
- 1 tsp salt
- 100 grams chocolate cut into small chunky pieces
Instructions
- Melt butter: In a small saucepan, melt butter over medium heat, stirring regularly. As the butter melts, it will bubble up, and the milk solids will start to separate. Once the milk solids take on a toasted dark brown hue and the butter emits a nutty aroma, take the saucepan off the heat. Transfer the browned butter to a mixing bowl and let it cool.
- Mix dry ingredients (except the white chocolate): While the butter is cooling down, whisk dry ingredients altogether: flour, baking powder, baking soda, matcha powder, milk powder and salt in another bowl. Set aside.
- Mix wet ingredients: Add the granulated sugar and the brown sugar to the bowl with the browned butter. Whisk until well blended. Add the egg and vanilla extract, continuing to whisk until the mixture becomes smooth and creamy.
- Combine the wet and dry ingredients: add the flour mixture to the butter mixture and fold together with a spatula until some flour patches remain.
- Incorporate the white chocolate: Fold half of the small chunks of white chocolate into the dough until evenly distributed.
- Chill the dough (covered) for 1 hour in the fridge.
- Prep the dough balls: Preheat the oven at 350℉ and while waiting, shape the dough into small balls (with an ice cream scoop) and place them on a baking sheet. Make sure to leave at least 2 inches between the dough balls, as they will expand during the baking processs.
- Bake: Bake for 10-12 minutes at 350℉, or until the edges lightly brown. Immediately after taking out the cookies from the oven, gently press the remaining chocolate chunks into the cookies.
- Serve: Let the cookies cool down for 15 mins before serving.


Thanks for this recipe! I made these for a potluck and everyone loved them!!
The cookies were so good! I used semisweet chocolate and they still turned out delicious!